OJS Guide for Section Editor

1. Login as section editor using your username and password.

2. The “Section Editor” dashboard display is as shown in Figure 1.

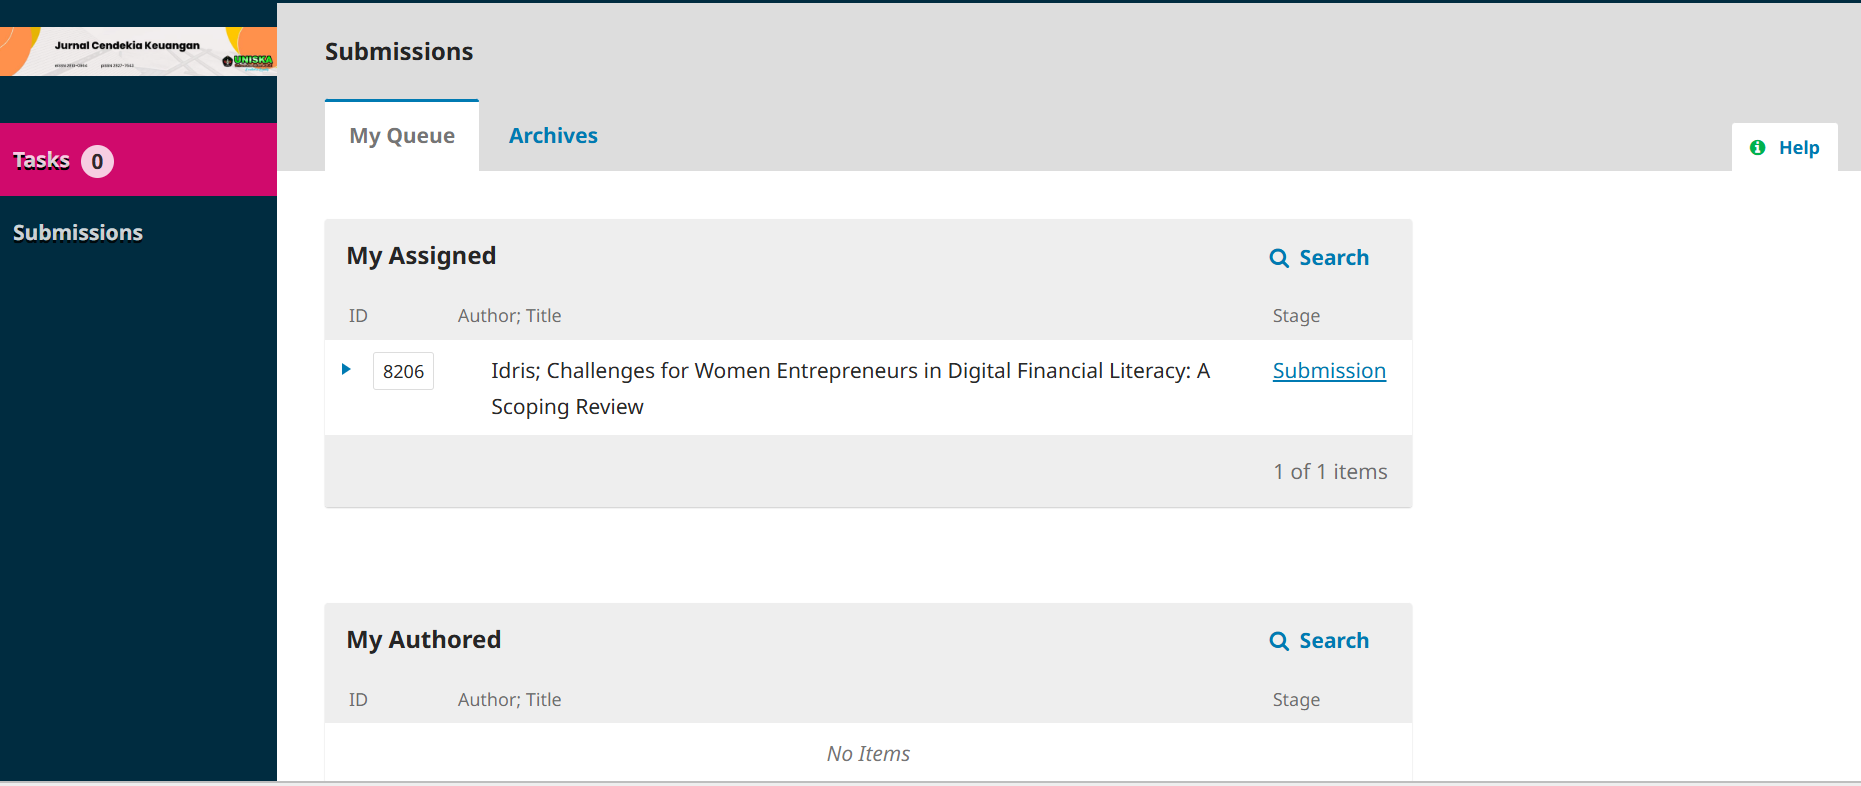
Figure 1. Section editor dashboard view

3. The "My Queue" menu contains two sections: "My Assigned" and "My Authored." My Assigned: contains a list of articles assigned to that section editor. The "Stage" column displays the current stage of the article.

My Authored : contains a list of articles that are my own writing that must be given to another editor.

4. Click "Submission" on the desired article, and you will be taken to the section editor's dashboard. The section editor dashboard is similar to the editor interface shown in Figure 2.

5. The authority of the section editor is the same as the editor, namely sending articles to the Review stage (Send to Review), sending articles to the Copyediting stage (Send to Copyediting) or rejecting the article without a review process (Decline Submission).

6. In the “Pre-Review Discussions” section, all messages addressed to the section editor will be displayed here, including requests for approval to become a section editor from the editor.

Figure 2. Section editor work dashboard display

SEND TO REVIEW

7. The next task of the section editor is to ensure that the article is sent to the Reviewer by clicking “Send to Review” on the right side.

8. Then select the article to be sent to the Reviewer and then click “Send to Review” as shown in Figure 3.

Figure 3. Select the file to be sent to the Reviewer

9. So now the article enters the “Review” stage as seen in Figure 4.

Figure 4. Review stage dashboard

10. If there are changes to the file to be sent to the Reviewer, you can re-upload the file by clicking “Upload/Select Files” in the Review Files section.

11. The next step is to select reviewers who will evaluate the article. In this case, you must select at least two reviewers who are relevant to the article's topic.

Click “Add Reviewer” in the Reviewers section, you will be taken to the “Add Reviewer” page as shown in Figure 5.

Figure 5. Add reviewer view

12. After selecting a reviewer who fits your field of expertise, click “Select reviewer”.

13. Next, you will be taken to the next page, on this page you have to send a notification email to the reviewer, fill in the due date for responding to the review request (response due date) which is 1 week and the due date for the review results (review due date) which is 3 weeks, review type = double blind and finally select the review form as shown in Figure 6.

Figure 6a. Display of sending email to reviewer

Figure 6.b. Important date, review type and review form display

14. Repeat steps 11-13 until you have selected 3 reviewers. The section editor page will appear after you have selected a reviewer, as shown in Figure 7.

Figure 7. Section editor page display 

15. Next, you just have to wait for the results of the review process from the reviewers. If the reviewer has not confirmed their willingness to review, the section editor can send an email to the reviewer to remind them of the review request.

16. After the reviewer provides the article assessment results as shown in Figure 8, the section editor can read the reviewer's assessment results by clicking "Read Review".

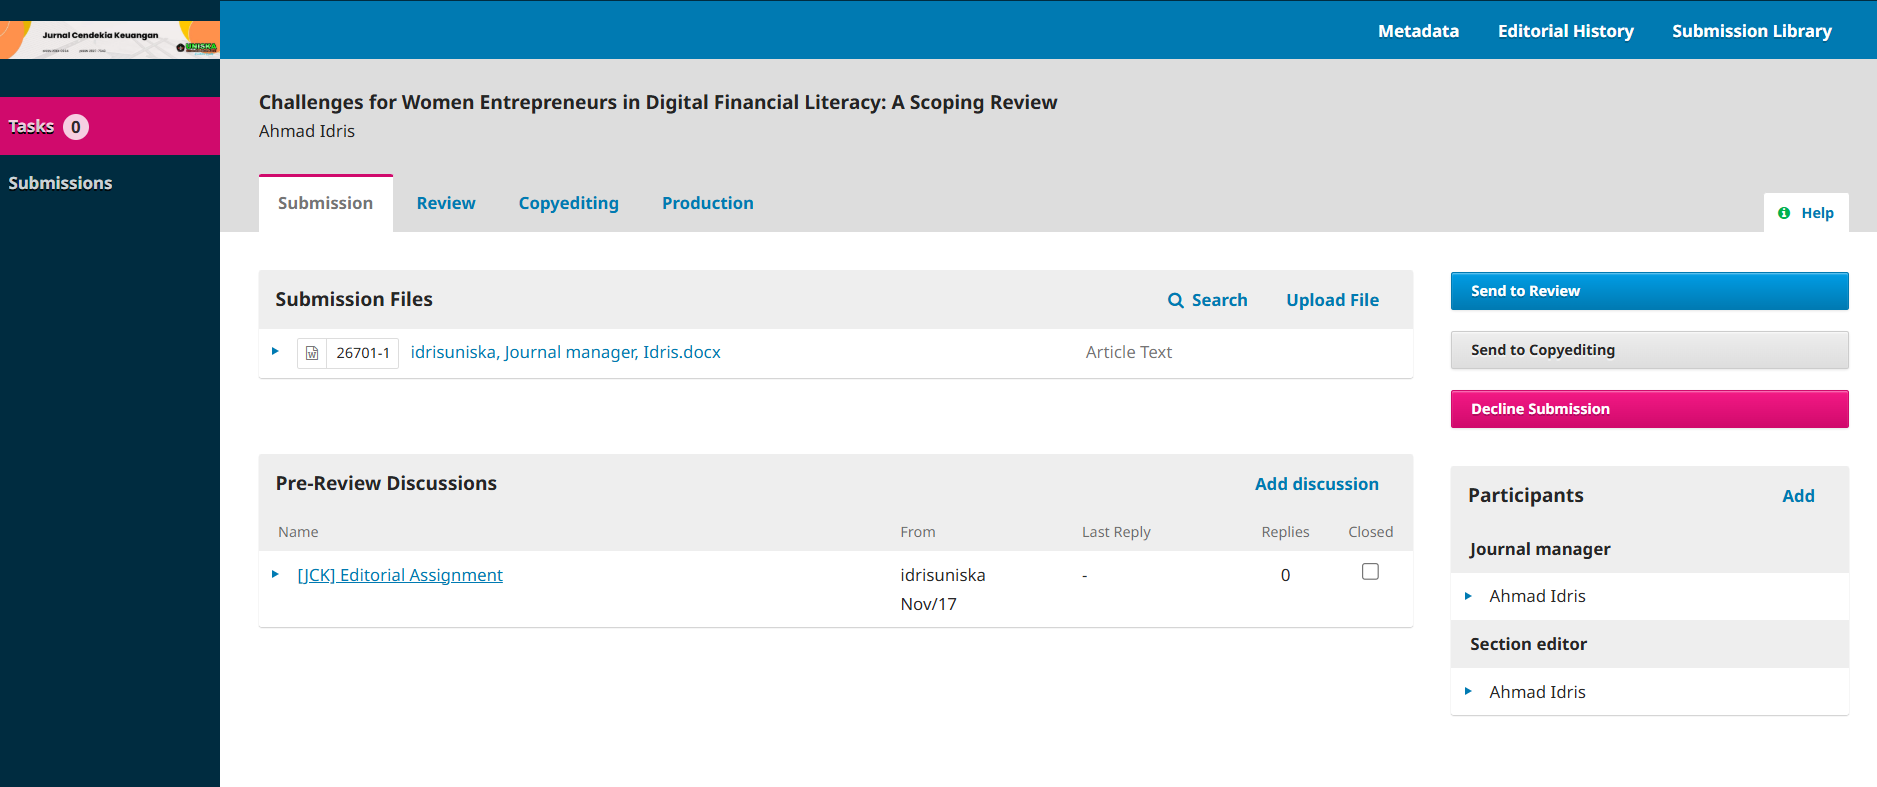
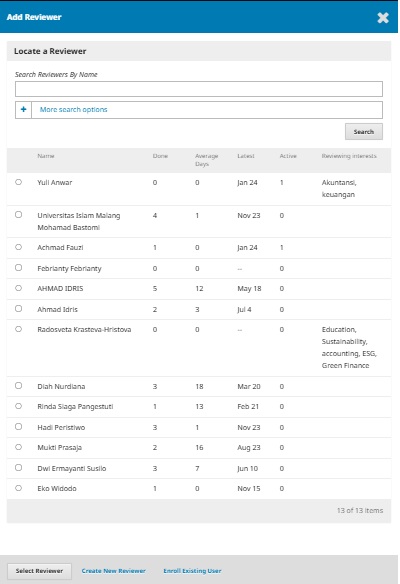
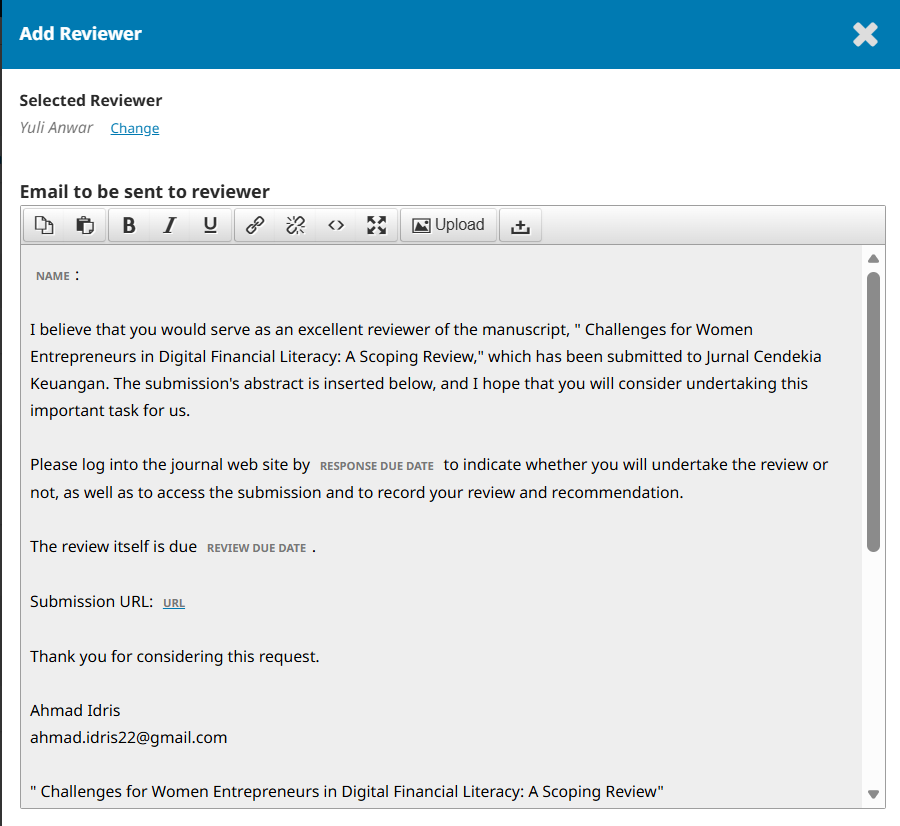
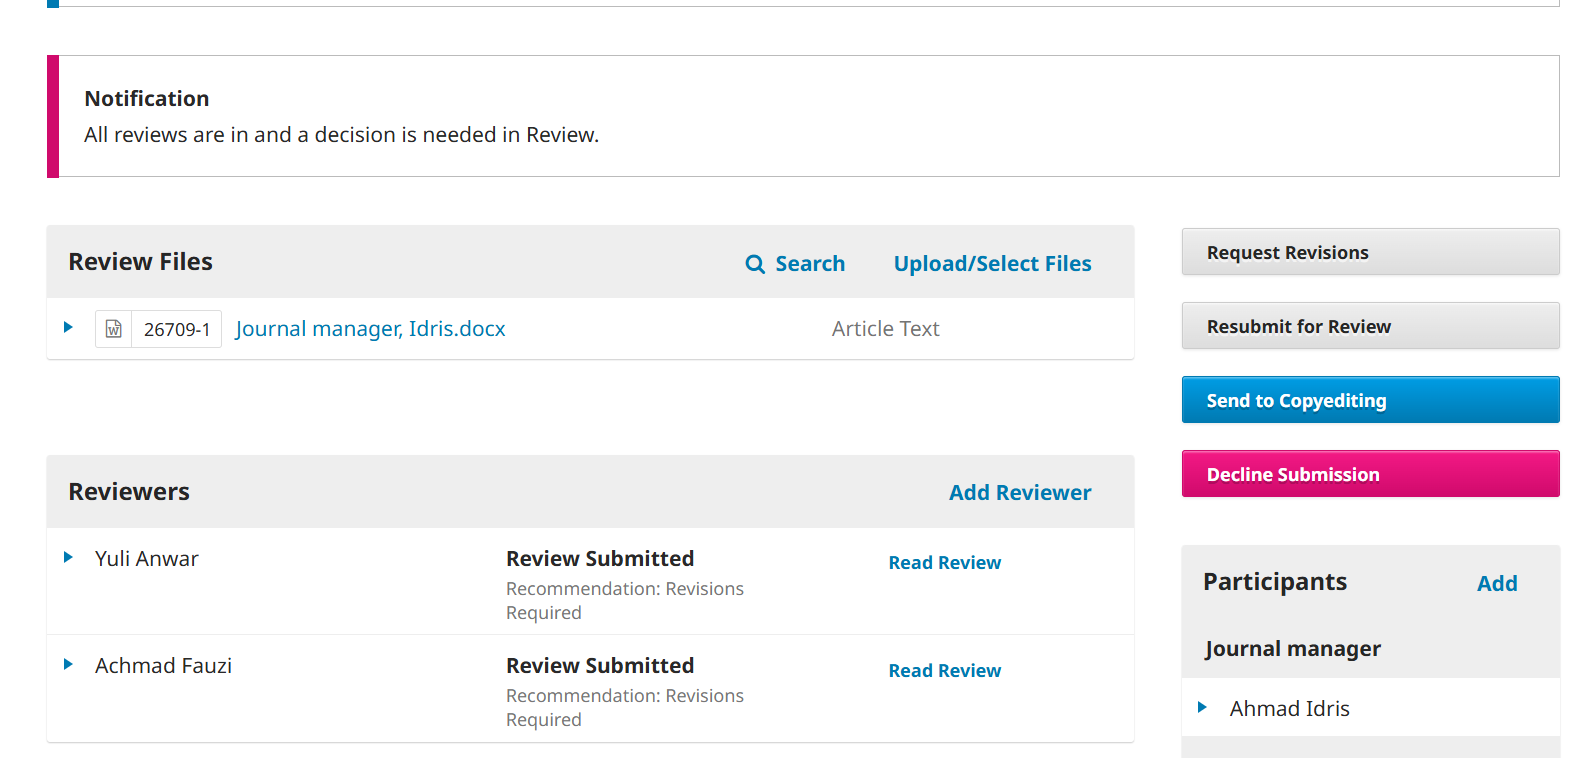
 Figure 8. Display of reviewer assessment results

 17. Make a decision on the article based on the reviewer's assessment. For example, if the decision is "Request Revisions," click "Request Revisions" in the right-hand column.

18. If the author has submitted the revised file, there will be a notification at the top of the page. You can then download the revised file from the "Revisions" section, as shown in Figure 9.

Figure 9. Notification that the revised file has been uploaded.

19. If the revised article meets the journal's qualifications, the editor can immediately make a decision to accept the article for publication by clicking "Send to Copyediting".

SEND TO COPYEDITING

20. Figure 10 shows the initial view of the section editor page. In the stage section, you can see that the article has entered the copyediting stage.

Figure 10. Initial view of the section editor

26. After that, wait for the copyeditor's work to be completed.

27. If the copyeditor has completed his work, the “Copyedited” section will appear on the section editor page as shown in Figure 11.

Figure 11. Copyedited View

28. After that, the section editor sends the copyedited file to the production section by clicking “Send to Production”.

29. The section editor or editor then assigns the Layout Editor to arrange the layout of the article to be published by clicking “Add” in the Participants section.

30. If the “Layout Editor” task is complete, then in the “Production” stage a “Galley” file will appear as shown in Figure 12.

Figure 12. The Galley file is ready to be published.

31. The next step is to schedule publication by clicking “Schedule For Publication” as shown in Figure 17.

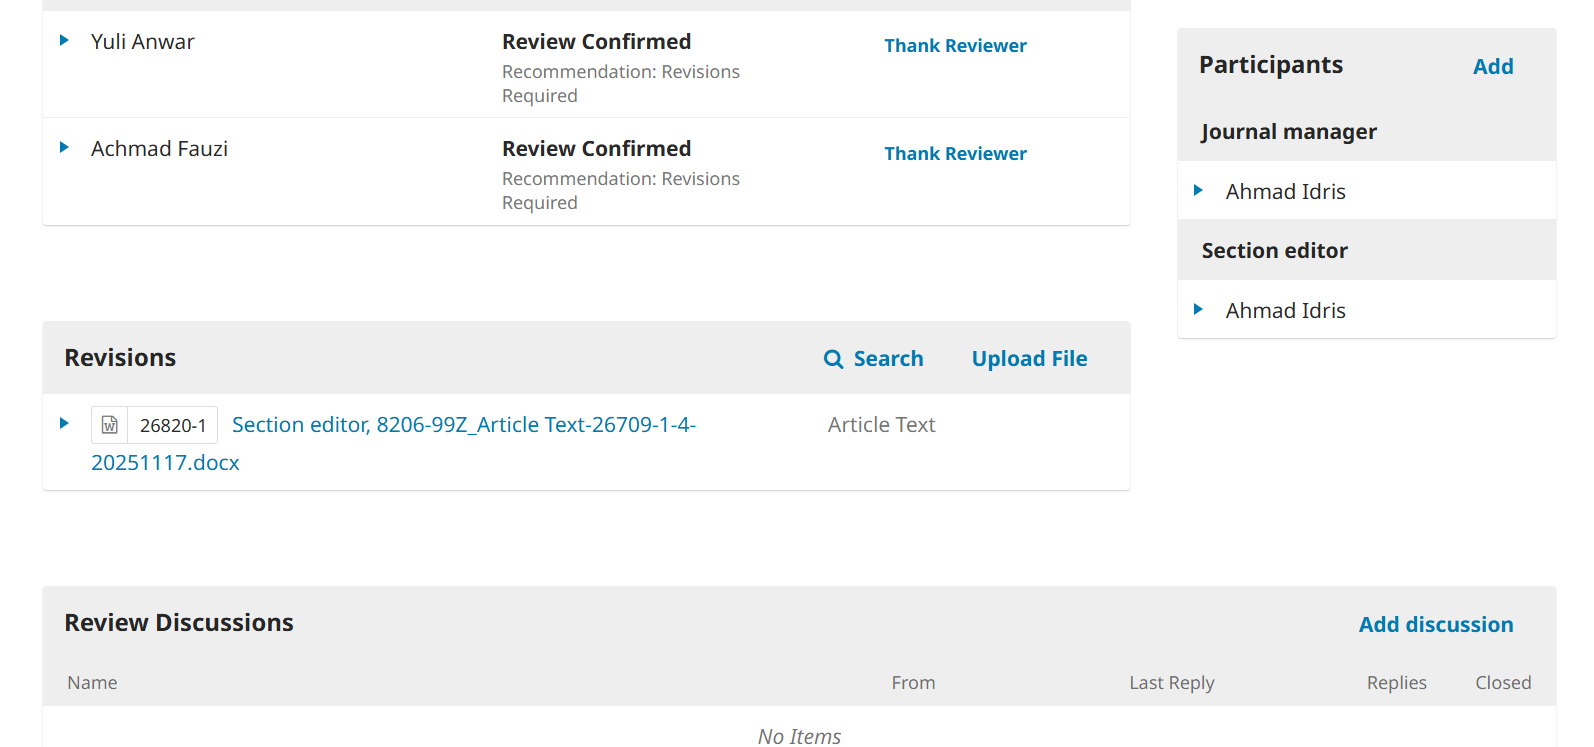
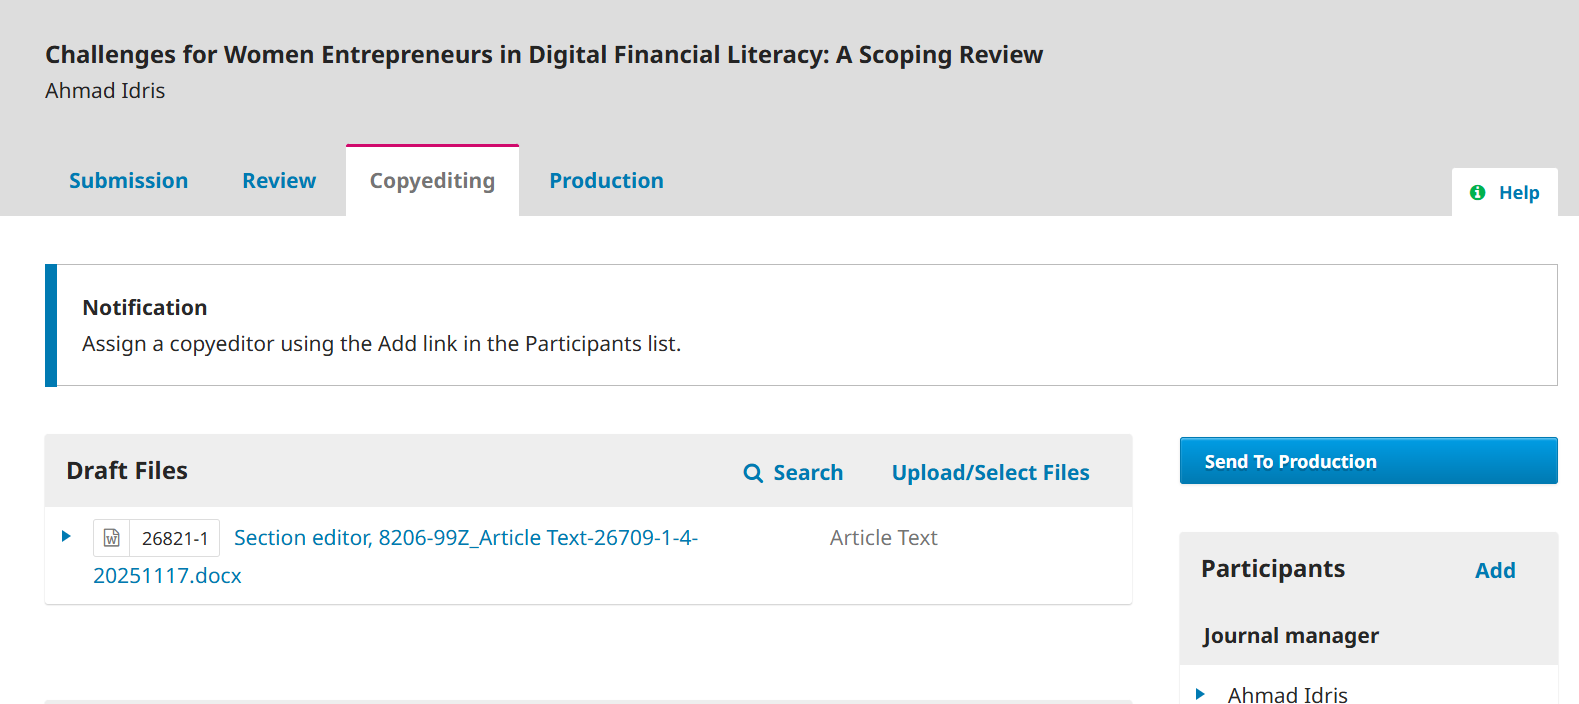
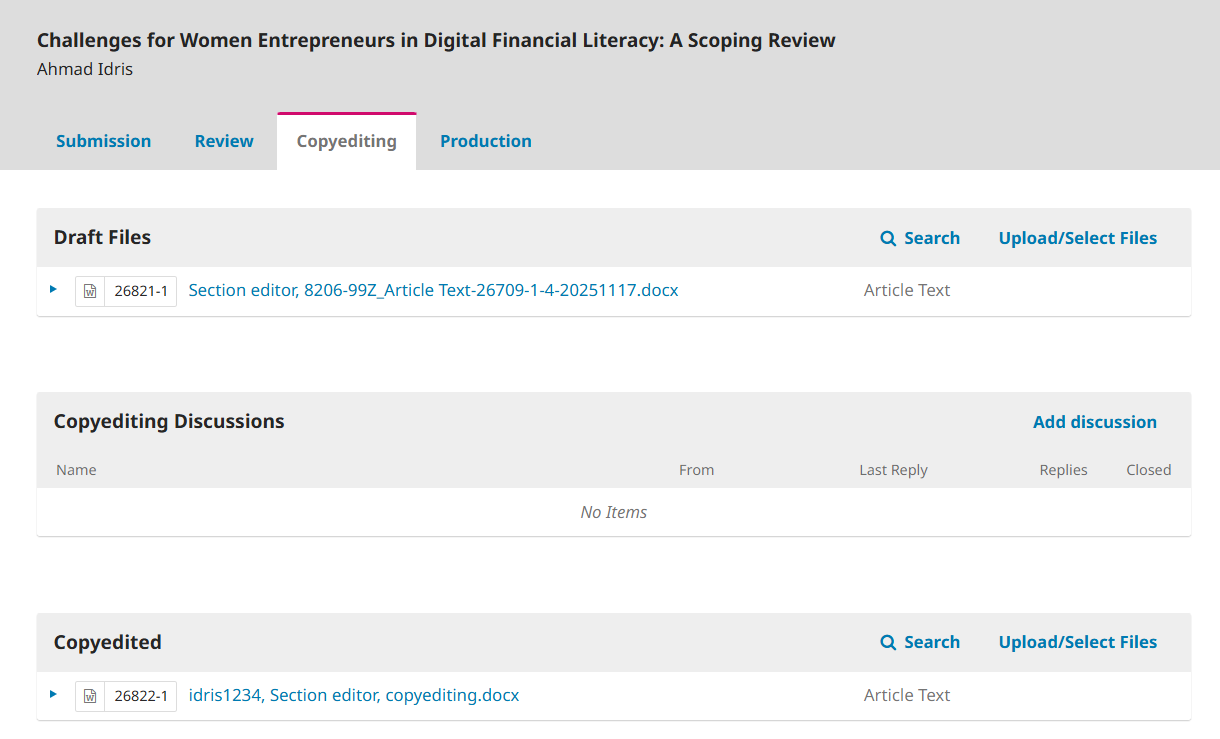
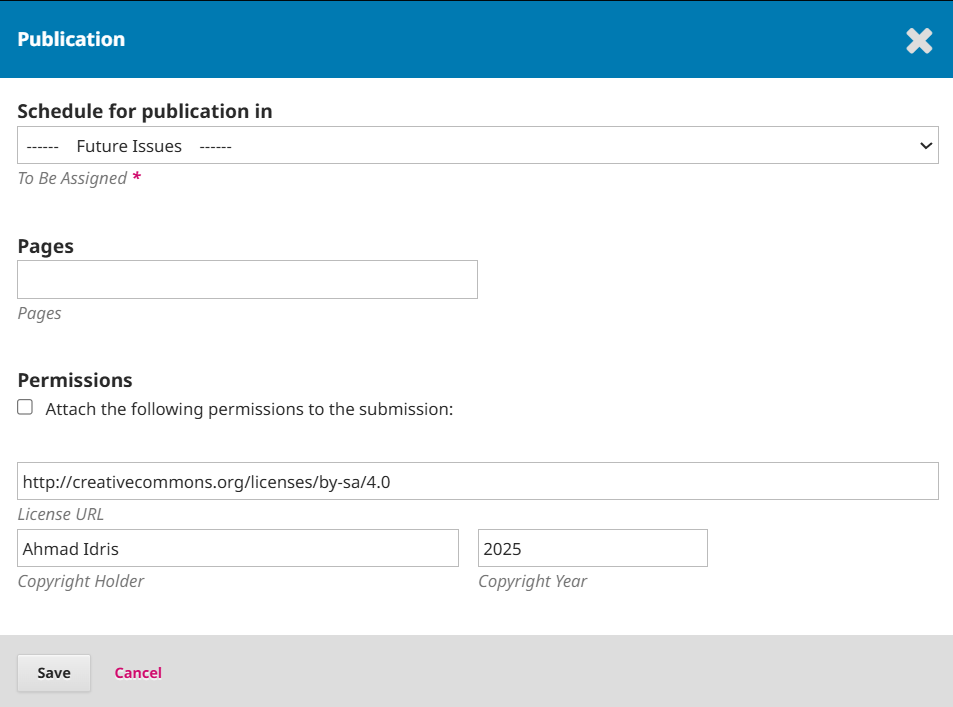
Figure 17. Publication scheduling

32. Select the issue to be published (Volume and number), then write the page number of the article to be published, check “Permissions” and finally click “Save”.

33. Your task as section editor is complete. Thank you.